
If you’ve ever seen someone juggling and wanted to learn how to do it, you’re in luck. I first learned how to juggle when I was 8 years old and I’ve been teaching people ever since. I’m 31 years old as of today so that’s 23 years of teaching people how to juggle. (2026 update. I’m now 38 which puts me at 30 years of teaching!)
So how long does it take to learn how to juggle? Out of the tens of thousands of people that I’ve taught how to juggle over the last 23 years, I’ve found the answer to: How Long Does It Take To Learn How To Juggle?
On average it takes someone 15 minutes of deliberate practice to learn how to juggle. However, to really get good, you are going to need to dedicate more time to learning how to juggle.
If you are wondering how it’s possible for someone to learn how to juggle in 15 minutes, you’re going to learn that today. If you are willing to read this and follow the simple instructions that are laid out, you’ll be able to juggle and it will take you around 15 minutes to really “get it”.
But if you try to jump ahead, or you don’t follow the directions as I lay them out here, it will take you longer to learn.
Learn How To Juggle in 15 Minutes
It seems like a pretty bold claim, doesn’t it? Well, when you follow a simple system things become easier and take less time. Think about something that used to be perceived as being difficult for you when you first began, yet it’s now really easy for you.
That’s exactly what this system is going to do for you. It’s going to take the idea of learning how to juggle, which you might think is difficult, and its going to make it easy.
The first thing we’re going to do is make sure that we have 3 balls of equal size, shape, and weight before we get started. A common error that people experience when learning to juggle is that they use balls that aren’t the same size, weight or shape. This makes it much harder to learn because of each object will require a different amount of force.
I recommend getting a set of actual juggling balls. Click here to get my recommended set from Amazon.
If you choose not to get those, it’s not a problem. But you want to be sure that the balls that you choose are around the size of a tennis ball or racquetball. I’ve found that this size is the easiest for the majority of people to learn with. You also want to make sure that the balls do not bounce when they hit off of each other or when they fall to the floor. There’s nothing worse than chasing a bunch of balls when you are learning to juggle and having to search all over the house for them.
Once you have the balls and are ready to go, you’re going to start off with just one ball. I know, you want to start with three, but you said you would work with me here and we’re following the system because it works.
You can even set the timer to 15 minutes right now if you are really curious if you can really do this in 15 minutes.
How Long Does It Take To Learn How To Juggle?
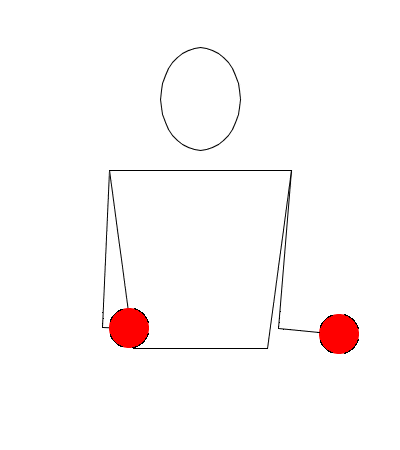
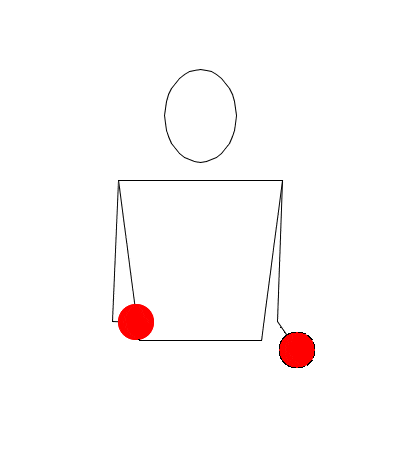
So the first thing you are going to do is throw the ball from one hand to the other. Each and every throw should go above eye level and there should be an almost identical path that the ball follows back and forth. In the image below, you’ll see where the “x” is that marks the spot you want to aim for.
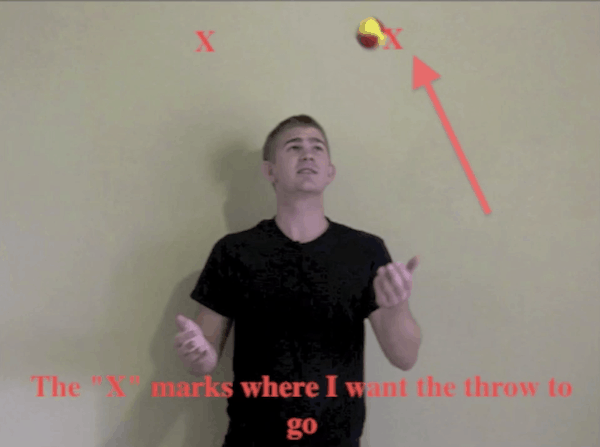
Why are you trying to hit that spot and not higher or lower?
Good question. Ideally, this spot will give you enough time for you to make minor adjustments, later on, to make sure you have plenty of time to catch the ball.
When you throw the ball too low, you are rushed and don’t have enough time to actually move your hand to the right spot to catch the ball. When you throw it too high, you often lose some of the control and the ball goes way out of reach, causing the pattern to fall apart.
You’re going to want to make this throw over and over again, from hand to hand, until you get to 25 throws that consistently hit those “x” spots. Yes, I want you to actually count and make sure that every throw hits the spot. Be honest with yourself here too. If you mis-throw, start back at zero.
I know, you are going to get a little bored doing this, but just deal with this for a while and you’ll be able to juggle in no time.
Okay so once you have successfully thrown it from hand to hand 25 times in a row without messing up, its time to move onto two balls.
Moving On To 2 Ball Juggling
Now, this is where it gets difficult. When most people get started with juggling 2 balls, they try to do what’s known as the “shower pattern” instead of the “cascade pattern”.
While both of these patterns are a form of juggling when you are first learning you want to learn with the cascade pattern. I’ve found that this is significantly easier to learn and focus on this when teaching people.
What is the difference between the shower and the cascade pattern for juggling?
The shower pattern is more of a circle pattern and goes at a faster pace. You can see it in the video below.
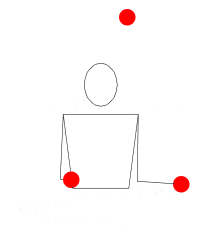
You can see how the ball gets sort of shuffled across from one hand to the other around the waist level. This is a very common site when people are learning to juggle because, with two balls, you feel like you are juggling when you do this.
Recommended: How to Juggle for Beginners
But this is not the way that we’ve going to learn because throwing it from hand to hand in this style causes a lot of missed catches. Instead of doing this, we’re going to focus on the cascade style.

In the video above, you’ll notice that the balls are thrown up into the air instead of shuffled to the other hand. When you do this, you allow yourself more time to catch the ball making it easier to learn.
You’re going to want to practice this technique of throwing the balls from hand to hand for 5 minutes. You will want to jump forward and skip to 3 balls at this point, because its so close, but please work with me here to make sure you learn this.
You’re going to pass these balls from hand to hand, trying to hit the same spot each time for the next 5 minutes. As you do this, keep track of how many times you can successfully throw the balls and catch them.
It might be difficult for you to throw the second throw, which is common. One technique that works well is to say out loud “throw, throw” so that you make sure you are throwing the second ball.
You’ll want to throw the second ball once the first one reaches its peak. It will have a very similar trajectory as the first ball but will be thrown underneath the first one, in the opposite direction.
Two common problems you’ll experience at this point is that you will drop the balls, or you will start to throw the balls out in front of you. If you are throwing the balls out in front of you, you’ll want to stand about 2 feet from a wall so that you can focus on keeping the balls in alignment with your body. The wall will prevent you from having to chase the balls and teach you to keep the throws closer to your body.
Also, make sure that you are not attempting to do the shower pattern at this point.
You’ll be tempted to start doing this because it will feel like you are juggling, but please make it a point to avoid doing this. You want the balls to be thrown up into the air at this point.
Once you have successfully spent the full 5 minutes throwing the two balls back and forth from hand to hand, it’s time to move onto the three-ball flash.
The three-ball flash is a technique where you are going to just make sure that you throw all three balls. The pattern is the exact same as what you have been practicing with two balls, but instead of just saying “throw, throw” you are going to say “throw, throw, THROW” and make sure you throw the third ball.
Don’t worry about catching all of the balls at this point. Most people aren’t able to. The idea here is to make sure that you throw each of the balls and they all hit that same spot we picked back when we first learned.
To make sure you do this correctly, you are going to have 2 balls in one hand to start and when you finish, the 2 balls will be in the other hand or on the floor by your other hand.
In the little clip above you can see what I mean by that. You’ll notice that the 2 balls is on one side to begin, and ends with 2 balls on the other side.
This part is difficult. You’re going to want to just do the 2 throws and won’t know what to do with the third one.
Throw, Throw, THROW
That’s where saying “Throw, Throw, THROW” comes in handy. Getting comfortable with making that third throw is going to help you see the full pattern.
At this stage, you are basically juggling! You have the pattern down and now it is just a repetition of this until it really “clicks” for you.
The next step to really getting this and making sure you can continuously do it is to practice the three-ball flash. Once you can do the flash 15 times in a row without dropping, you can work on getting to 4 throws.
Then you simply repeat the pattern again. Once you have the flash down, it really just repeats itself and you just continue to “throw, throw, throw” as long as you want.
If you enjoyed this, but really want to learn more, or you just want a video tutorial to show you more, I have a free video that teaches you this exact process in video form. Click here to watch that video.

Recent Posts
Can Juggling Improve Your Brain? The Surprising Benefits of Juggling for the Mind
Juggling is an activity that most of us associate with entertainment and circuses. But did you know that juggling can do wonders for your brain? It's true! Juggling has been found to have numerous...
Stress is a common experience for adults. Juggling For Stress Relief can be a helpful coping strategy for managing stress. Juggling has many benefits including reducing stress, improving mental...
